Considering applying to be hired as one of Santa’s elves? Complete a written application and demonstrate your toy making abilities with Keynote! Learn some Keynote skills along the way. All it takes is your imagination and you can prove to Santa that he should hire you as his next lead Elf! Download the Keynote file here
Enjoy some elves-in-training from Mrs. Sladek's Writing classes here:
And a sneak peek into the toy-making process of these elves:
It seems like “DaNcE pArTy” is the common theme to celebrate this year’s Computer Science Education Week (otherwise known as “Hour of Code”)!
December 9-15, 2019 is the official week that is designated as this year’s Computer Science Education Week, but of course you can host an “Hour of Code” ANY TIME with these free resources:
From Code.org:
Say hello to Dance Party 2019 With the Hour of Code only a few weeks away, we’re excited to unveil the latest additions to one of our most popular activities, Dance Party! You can look forward to new backgrounds, new coding blocks, and new music from artists like Lil Nas X, Nicki Minaj, Panic! At The Disco, Jonas Brothers, Pedro Capó, and Katy Perry. There’s even a brand-new Dance Party character designed by middle schooler Genevieve P from Edison, NJ! Read more on our blog.
From Apple’s Everyone Can Code:
Excerpt from https://www.apple.com/newsroom/2019/11/apple-expands-everyone-can-code-to-bring-more-coding-resources-to-teachers-and-students/
"New Everyone Can Code Curriculum
The new Everyone Can Code curriculum builds on existing interactive puzzles, guides and activities to make learning to code even more approachable and connected to students’ everyday lives.Everyone Can Code Puzzlesis an all-new student guide to Swift Playgrounds where each chapter helps students build on what they already know, experiment with new coding concepts and creatively communicate how coding impacts their lives. Acompanion teacher guide supports educators in bringing coding into their classrooms with helpful ways to facilitate, deepen and assess student learning.”
This year’s Hour of Code Facilitator Guidefeatures Dance as students program a virtual MeeBot character to dance and then make a video of it. The new Swift Playground activities to accompany this activity are featured in the Swift Playgrounds library. You could even purchase an actual robot that you could build and then program to interact with your code. Even without this purchase, students can have hours of coding fun with dance moves and the virtual robot inside of Swift Playgrounds.
As always, feel free to contact Katie at ESU 8 if you want any help launching an Hour of Code event or ongoing Coding Club in your school.
The following are current technology integration projects and practices that ESU 8 schools have been busy with recently. Remember that the invitation is always open if you see something from this list that you would like to try in your classroom. Contact us at ESU 8 and we would love to help get something planned in your school!
Digital book creation: A digital book is so much more than a book. Rather it is a container/organizer for all kinds of learning! Use a digital book as an investigation journal, a portfolio, a class collection of pages on a larger topic, or even a way to document a school event. Publish and share with the world without wasting any printer ink!
Creative media production: Whether a quick project like the greenscreen “Wormhole Challenge” or a class project like content area student-produced videos, students can practice interview skills, speaking skills, editing and creativity. Videos are a universal way to share what is being learned in the classroom with the rest of the world!
VR and AR: Virtual and augmented reality can bring content to life. Students can experience apps to take them places they couldn’t normally go: for example the inside of body systems or underneath the ocean floor. Also possible is students creating their own VR and AR creations with tools such as Google's Tour Creator, AR Makr app, or Blippar.
Digital resources for research: Utilize World Book online, Learn 360, or Virtual Field Trips to connect your class with first rate global resources- all with virtually no cost. Avoid simply going on a Google search and use higher quality resources for whatever your next educational project may be.
Blended Learning and PBL: Here’s a framework or a learning methodology to make your next project more student directed. Student agency empowers learners to be responsible for choices impacting their productivity and understanding of content. Make your next unit more personalized by blending in some project based learning or station rotation experiences.
Gamify with assessment tools: Use technology for your next classroom review session and make learning fun! There are so many readily available formative assessment tools that you can choose a new one each unit so students don’t grow tired of any of them. Even some traditional tools have new features, so ask about ways to gamify that next class review session.
Learning Management System tools like Canvas or Google Classroom: The easiest way to take technology integration to the next level in your classroom is to employ a system of content delivery and student interaction. Even Apple Classroom has updates to make their newest technology more manageable for all. Work with us to uncover ways your LMS can allow for more productive learning environments.
For additional ideas and examples from ESU 8 schools recently, be sure to check out my Instructional Tech at ESU 8 blog at: https://esu8tech.blogspot.com
For this year's ESU 8 Elementary Science Olympiad, activities were centered around a phenomenon. Students were scientists as they explored and experienced topics with connections to that phenomenon.
During my rotation we learned about animal adaptations and how they help animals survive. Each pair of students created an infographic in Keynote on iPad to visually share their scientific knowledge with others.
To replicate in your classroom, I recommend starting with the Everyone Can Create: Drawing guide book from Apple Books. Chapter 9 is all about infographics and contains solid examples as well as planning considerations.
We also examined this Snowy Owl infographic example to look for critical features of an infographic as referenced in the Everyone Can Create chapter.
Next student pairs each chose an animal that interested them and researched it on World Book Online Student Edition. ESU 8 provides access to this valuable resource to all our schools and it tremendously helped with efficient and responsible research for this age group of students. Older learners could use Advanced and younger grades the Kids Edition of World Book Online. We discussed how to cite and credit the article for their researched and then navigated to the media tab to choose the image to be the center piece of their infographic. Students copied their animal's image and then opened the Keynote app to begin to create.
Prior to students arriving, I used Apple Classroom to distribute a Keynote file where I had created a custom theme with different biome backgrounds set to 50% opacity and locked in the background of the slide design options. This was mostly to maximize time for students to create.
(To make your own version simply create a new Keynote, View > Edit Master Slides, delete the existing masters other than the blank one, duplicate that and add a different background image to each, name each slide master and choose 'Done'.)
Now, all students needed to do was add a new slide (blue + on bottom left) and choose the biome that most closely matched their chosen animal. They pasted their image on the slide, resized and some used instant alpha to clean up the background. (Note: If students had access to Apple Pencil, I would encourage them to trace, color, and delete the original image in order to have a truly personalized look for the visual focus of their infographic.)
Using my example of a deer and its adaptations that I created below, we continued to go back and forth (or use Split Screen view on the iPad) between World Book Web and Keynote in order to add the following components:
Title
Name of biome
Map of where it lives
at least 3 adaptations that help it survive
Keynote skills the students learned included:
Adding and editing text
Inserting drawings
Using shapes, callouts, and connectors
Recording audio (for a few early finishers)
Also during this fast-paced 45 minute lesson we discussed critical design elements including, font, color, layout (proximity & space), and contrast.
After all the student groups had rotated through, it was easy to collect the Keynote files through Apple Classroom and send the completed infographics back to their teachers. You can view the students' creativity and scientific knowledge in this online gallery.
We recently held our annual "IGNITE" day for ESU 8 teachers to spark new ideas for technology integration in their classrooms. The following is a summary of the learning we experienced to help us "launch" a great school year!
Wormhole Challenge
Our kick-off activity was using the new green screen feature in iMovie on iPad to create examples of the "Wormhole Challenge". You can read more about how to replicate this activity on this blog post.
Apple 'Pop Up Classroom' Workbook
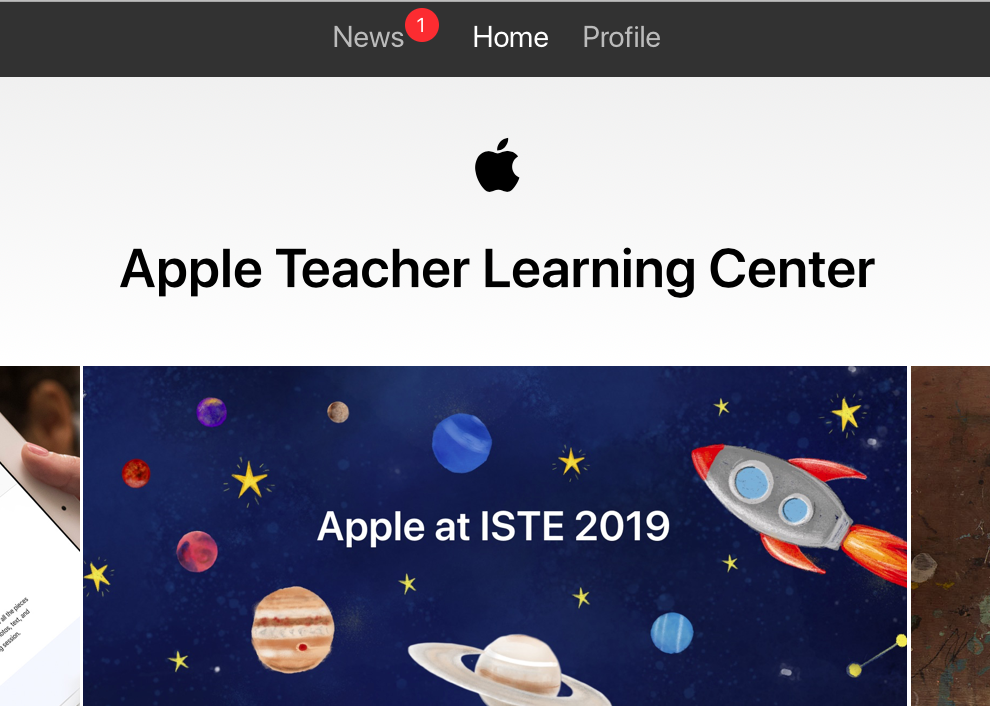
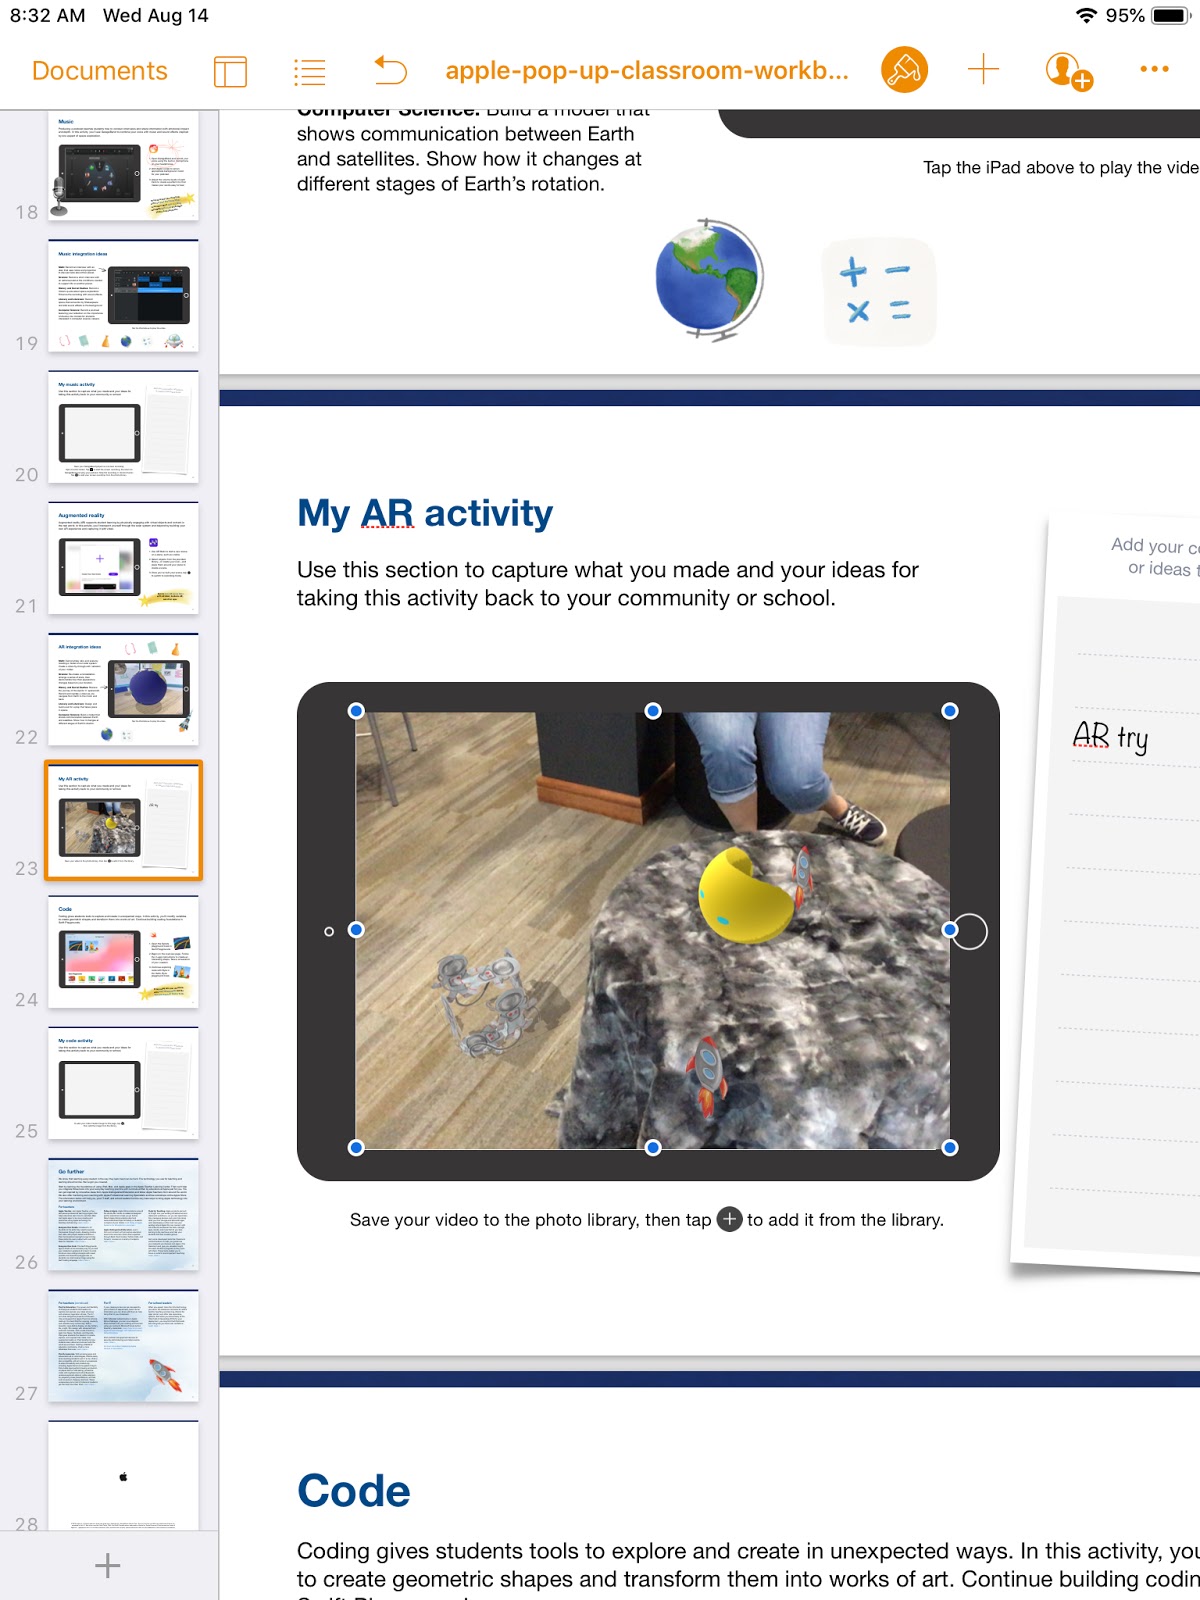
To demonstrate the possibilities of #EveryoneCanCreate with the built-in Apple apps on iPad, we worked through station activities shared at ISTE in Apple's "Pop-up Classroom" experience. Centered around a space theme, teachers were able to use a Pages workbook to try out drawing, photos, music, and augmented reality. (Video and coding activities are also included in the workbook). The entire resource was generously shared on the Apple Teacher Learning Center and you can download it too! Just look for the "Apple at ISTE 2019" tile.
Drawing: Create a hand drawn note of a concept or idea involving the moon (in the Keynote or Pages app) and bring it life by adding line draw animation.
Photos: Use the iPad camera's burst mode to capture a photo of a jump and then select a frame in midair. Use the markup feature to annotate and add a fact about weightlessness in outer space.
Music: Create a Garageband recording for voice and interview your "friend from outer space" about life on the moon. Use the voice filters to make your audio recording sound authentic!
Augmented Reality (AR): Use the AR Makr app to create a 3D AR model of the earth, moon, and sun... and put it into motion!
ESU 8 Digital Resources
There are so many resources provided for educators through our ESU 8 Digital Resources that it is always worth a reminder! Molly presented a refresher and new features sharing about World Book online, Learn 360, SNAP to check out physical items through the Media Center, Virtual Field Trips (VFTs) and Zoom.
Mission Control
During this portion of the workshop, we compared and contrasting two teaching tools to help you feel "in control" of your students' learning. We experienced a "getting to know you" lesson in the free versions of both ClassKick and Nearpod and then discussed differences, as well as times when both would be valuable.
Teacher View of ClassKick lesson in progress.
Teacher View of Nearpod lesson overview.
Demo Slam
Finally, Molly and I went head-to-head with a Demo Slam, designed to showcase a few more tech tools in a fast-paced way.
Goal-Setting
We concluded our IGNITE day by taking a look at our ESU 8 Tech Integration mission and then peruse some exemplars (includingISTE Standards, BlendED, BellevuePS ) to attempt to set individual professional goals for the upcoming school year. Don't forget that Katie and Molly would LOVE to come out to your classroom any time and assist with trying to reach those growth goals.
One final activity...
...was one we used with West Holt teachers in their back-to-school Tech Ignite Day. It was to introduce EdPuzzle, by way of using EdPuzzle. You can check it out below.
O'Neill Elementary's 3rd Grade Reading class, under the direction of Mrs. Julie Pistulka along with help from Katie Morrow, ESU 8, recently published their latest version of an annual community history research project. This year, the creative student authors compiled and shared their information in the form of an alphabet book.
Using a Pages template, each "letter" consists of 3 pages:
1) a stanza of poetry and photo gallery on the topic
2) written report from student research
3) student-created artwork
template created in Pages and distributed to student iPads via Apple Classroom
Students added audio narration for all the text with the newest feature of Pages books - Audio Recordings.
Last week, I was delighted to find this book delivered in my mailbox from Amazon.
"If I Were A Wizard" (hardback) by Paul Hamilton
At first glance, it looks like another delightful children's book, doesn't it? In actuality, "If I Were a Wizard" by Paul Hamilton teaches readers young and old all about computational thinking and coding concepts. And it does this without intimidating terminology (and yet provides connections at the end).
When I talked with Paul this July at the 2018 Apple Distinguished Educator Institute, I was amazed by his humility. It struck a chord with me when he mentioned that humans are drawn to story, but true connections are made via characters. Thus he created Hazel. And Hazel is more than a beautiful mouse on the pages of the book or the digital swipes in iBooks. Hazel is a relatable comrade for all those who get to know her. Students can "meet" Hazel and experience her world through Augmented Reality with the free app Wizard AR. While exploring this magical world, teachers like Katie Gardner can capitalize on creative writing opportunities. Or simply enjoy an original title track performed by a beautiful young vocal wizard. Teachers can build closer relationships with Hazel by visiting the wizardcodingbook.com website and downloading the numerous free educational resources-- writing, math, art, and even more beyond just coding. It is clear to see that Paul has created more than just a coding book!
It is hard to debate the value in teaching coding concepts in today's primary classrooms. With "If I Were a Wizard" young children of all ages and backgrounds will be inspired to consider today's reality-- that they, too, can code. And I will continue to be inspired by the author's dedication to education that matters.
Every once in awhile you find that tech integration idea that withstands the test of time. Even as the tech tools evolve and change, the learning still holds its value. "Six Shot Stories" is one of those practices for me. As an English teacher, the value of writing Six Word Memoirs created numerous educational benefits with my students. Theme, concise word choice, summarization are all skills emphasized with this simple activity. Pairing the concept with media was brilliant, and Don Goble's One Best Thing book: "Six-Word Story, Six Unique Shots" remains an invaluable resource for delivering the lesson to students.
Recently I worked with the 4th grade classes at West Holt Elementary to share their school's stories through this technique. And Apple's Clips app on iPad was the perfect medium to create some powerful digital stories in a short timeframe.
I began the lesson by viewing Apple's latest commercial for iPad "Homework" and asking students to count the number of cuts, in order to establish the importance of storytelling through a wide variety of camera angles and shots.
Then students paired up to author a Six-Word Story about their school, their classroom, or their daily activities as 4th graders at West Holt Elementary. It is amazing to see such powerful stories created in just six words by students!
I used Don Goble's book on iBooks to demonstrate different shots that were possible, and reminded students of some simple best practices when capturing with iPad. Instructions were emphasized that each shot should be between 3 and 5 seconds and no technique should be repeated (each shot is unique). Students used a storyboard to plan their six shots and then used the camera app to capture each on their iPad.
Finally, with only literally a few minutes of instruction on the Clips app, students assembled and edited their story. Some added all six words of text at the very end, some used one word per shot, and others split up the text in varying ways. Many were able to experiment with the other creative features of Clips as well, even within the one-class time period we had together. Each team of students exported their product to camera roll, then Airdropped to their teacher's Mac in order to upload on a YouTube channel and organize in a playlist.
What I appreciate most about this project as an ELA teacher, is the tremendous focus on concise, clear communication it entails. As a technology teacher I value the creativity and composition techniques that allow student media production to instantly be raised to the next level.
Prior to teaching coding to any age of learners, it is smart to teach better communication skills. At ESU 8's recent Elementary Science Olympiad one of the student activity stations did just that.
First we began with coding with blocks. The engineer and the builder had the exact same blocks but their workspace was separated with a divider, blocking their view of each other's creations. Instead they gave verbal "code" as instructions to each other in the attempts of replicating the exact same structure. Modifying each round with various alternations (ability for builder to ask questions, written instructions only, etc.) added additional discussion on the importance of communication in the process of science, and coding in particular.
Next we moved to the computer and worked instead with digital "blocks" which were actually shapes in Apple's Keynote application on our MacBook Air laptops. Both the engineer and the builder had to pay attention to the very fine details and convey that "code" back and forth in order to replicate each other's designs.
Use basic shapes to construct an image on a blank Keynote slide.
Note: The more “complicated” the shape, the more “code” will be involved.
Complete a “code sheet” with each shape’s details from the Inspector.
Using the code alone, attempt to rebuild and replicate your partner’s image on a new blank slide. Enter details into the Inspector exactly for each shape added.
View each other’s original slides and share feedback with your partner.
Debug your errors.
Optional Lessons:
Add a theme to the challenge, such as flag designs, pumpkin carving, or monster creation.
Address the importance of specific communication as discrepancies arise.
Last Spring Apple introduced a brand new app that gives us a fun way to build an expressive story. Available for free for all iOS products (iPhone, iPad, etc.) it is simply called Clips.
Why learn a new tool to create digital stories?
Clips allows you to...
avoid the learning curve that you may encounter with many multimedia creation apps
record, edit, and share all on the go (designed for a purely mobile experience)
add a variety of creative filters, overlays, background music and more... all with open usage rights
engage even the youngest of learners with its natural, intuitive workflow
When you launch the app you will see that Clips is designed for immediate recording. There are 3 sources for capturing: video, photos, or pull in anything from your camera roll/Photos Library.
*A big difference from what some of us more traditional video creators might be used to is that you have to hold the red record button for the entire duration of what you want to capture. (For example if you are bringing in a prerecorded video or photo, you have to hold the record button the entire time the video is playing, or you will only add that much to your Clips project.
* TIP:Press and slide to the left on the red record button to lock it in recording mode. This frees up your fingers to interact with your photo or video... for example, pinch to zoom and move it around in the square frame.
The 4 cool buttons at the top allow you to do the following:
1) Live Titles (Your speech will be typed on screen in time with you saying it (like closed captioning)
2) Filters (add fun effects to any part(s) of your video
3) Overlays (Select from pre-made 'stickers', pinch, zoom, rotate, edit text)
4) Posters (Full screen backgrounds with editable text and a bit of included animation)
*The ability to take one photo, zoom in, point and label, zoom out, and create simple, smooth pans truly elevates the media created with Clips above that of a traditional slide show.
Clips always adds new content to the end of your project, but you can easily tap, hold, and drag to move its position anywhere in your 'timeline' across the bottom. Additional editing can include editing the text from your transcribed live titles, muting audio, trimming the ends of each clip, and deleting clips.
One of the most powerful features of Clips when using it the classroom is the background music option. By clicking the music note button in the upper right of Clips, you have access to numerous soundtracks of royalty-free music. Each adjusts to match the timing of your project and even automatically fades in and out depending on pre-existing audio!
Sharing options are numerous and simple. In addition to a variety of social media outlets, each Clips projects can be saved to the camera roll for additional remixing, app smashing, and sharing.
Now, watch a Clips video about a simple project using Clips with kids!
View so many more inspiring ideas by searching the hashtag #ClassroomClips on social media sites such as Twitter, Instagram, and Facebook.
Marzano Instructional Element 39: Understanding Students' Backgrounds and Interests
This element is key to building relationships with your students-- no matter the age level or subject you teach.
The "iAM" movie project is a simple lesson idea with variations available that any teacher could try immediately.
Ask your students to create a short video trailer about themselves-- their passions, interests, and even less surface level 'getting to know you' information. Highlighted tools of choice include Adobe Spark Video and iMovie trailers (both free or readily available apps)
For full "lesson plans" and example videos, be sure to read these two articles:
If you want to build out this lesson even further, consider looking through the resources available on iTunes from Apple Distinguished Educators about "iAM: A Brand Called ME"
I referenced this same Marzano Instructional Element in my ESU8 Wednesday Webinar on iMovie + Marzano. Students are almost certain to be willing to complete this activity even outside of class time and even more importantly, you will learn new insights and deepen relationships with your learners.
The following student projects from my classroom are an example of how you can get to know your students easily through a simple digital story. Show them to your class today and challenge your students to see how creative they can be in sharing their "personal brand."