Sunday, October 20, 2019

2019 DigCit Week - Student creations

Students from ESU 8 who attended this year's Nebraska Digital Citizenship Symposium created positive campaigns to take back to their school and community for DigCitWeek 2019.

O'Neill High School

8th grade students from O'Neill High School created the following video PSAs to share with students at both the Elementary and High School buildings.


In addition, this O'Neill High School Digital Citizenship team appeared on Eagle Eye Broadcasting- Daily Announcements during DigCit Week and shared their message. 


West Holt High School

7th grade students from West Holt created a social media campaign with graphics shared on their school twitter channel all week long. 


Ewing Public School

6th and 7th grade students from Ewing Public School organized a TikTok challenge for Digital Citizenship Week. 


Thank you, ESU 8 students, for showing all of us how we can each "Be the One" to make a difference online. 

Digital Citizenship Week 2019... for teachers

This week, October 14-18, is Digital Citizenship Week.

Digital Citizenship Week is a good time remember to incorporate DigCit lessons into our classrooms and school culture. However, like with other similar campaigns, we shouldn't limit our students' exposure to this important topic solely during this week. The following are some current resources to jump start DigCit activities this week and throughout the school year. 
Use the latest films from ILovePublicSchools to spur discussion with students and faculty. The Mind Inside: Episode Two was released just last Friday and it tackles a highly sensitive topic (suicide) and the implications of social media on today's kids. If time or nature doesn't allow viewing of the full length film, then perhaps watching the 3 minute trailer would be enough to launch healthy discussion with our students about their digital device usage in today's world. 
There are two sides to every issue. DigCitCommit is a new coalition working to promote the positive side of digital citizenship. Included on the site is a DigCitCommit Challenge where prizes can be earned for classroom projects. 
Also, the following links take you to additional Digital Citizenship resources for teachers:

Sunday, October 6, 2019

Animal Adaptations Infographics

For this year's ESU 8 Elementary Science Olympiad, activities were centered around a phenomenon. Students were scientists as they explored and experienced topics with connections to that phenomenon.

During my rotation we learned about animal adaptations and how they help animals survive. Each pair of students created an infographic in Keynote on iPad to visually share their scientific knowledge with others.

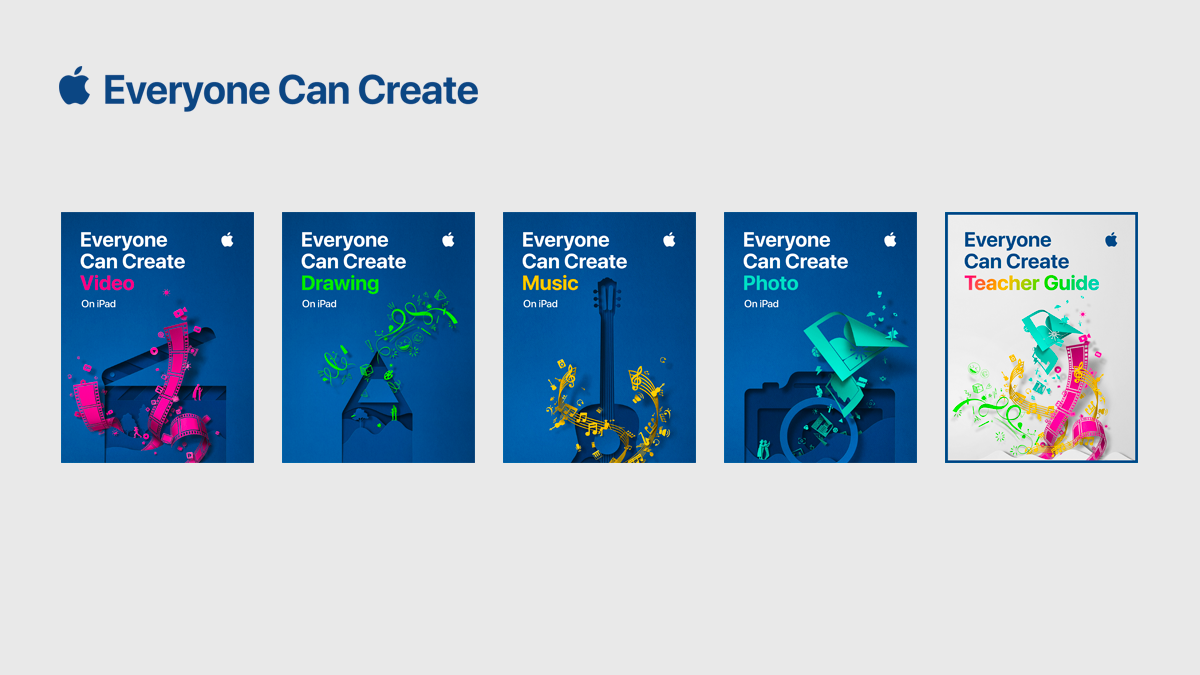
To replicate in your classroom, I recommend starting with the Everyone Can Create: Drawing guide book from Apple Books. Chapter 9 is all about infographics and contains solid examples as well as planning considerations.
Everyone Can Create Drawing
We also examined this Snowy Owl infographic example to look for critical features of an infographic as referenced in the Everyone Can Create chapter.

Next student pairs each chose an animal that interested them and researched it on World Book Online Student Edition. ESU 8 provides access to this valuable resource to all our schools and it tremendously helped with efficient and responsible research for this age group of students. Older learners could use Advanced and younger grades the Kids Edition of World Book Online. We discussed how to cite and credit the article for their researched and then navigated to the media tab to choose the image to be the center piece of their infographic. Students copied their animal's image and then opened the Keynote app to begin to create.

Prior to students arriving, I used Apple Classroom to distribute a Keynote file where I had created a custom theme with different biome backgrounds set to 50% opacity and locked in the background of the slide design options. This was mostly to maximize time for students to create.

(To make your own version simply create a new Keynote, View > Edit Master Slides, delete the existing masters other than the blank one, duplicate that and add a different background image to each, name each slide master and choose 'Done'.)

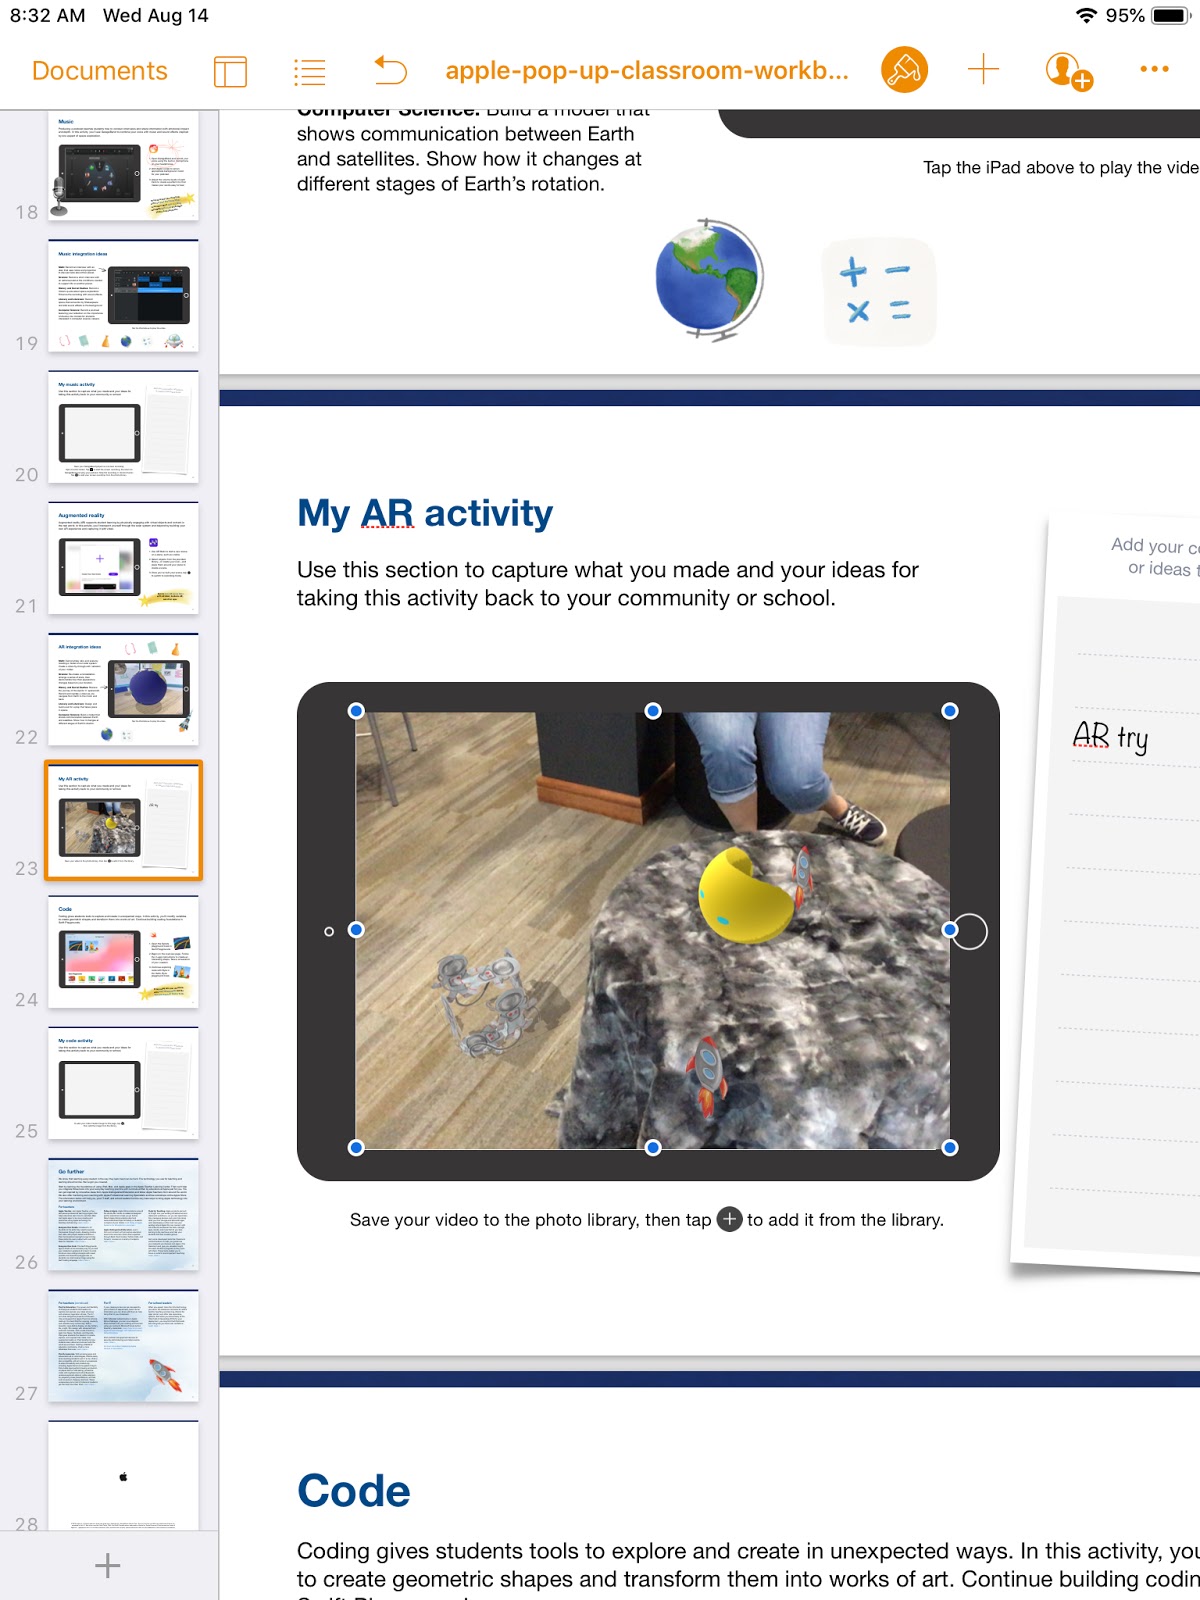
Now, all students needed to do was add a new slide (blue + on bottom left) and choose the biome that most closely matched their chosen animal. They pasted their image on the slide, resized and some used instant alpha to clean up the background. (Note: If students had access to Apple Pencil, I would encourage them to trace, color, and delete the original image in order to have a truly personalized look for the visual focus of their infographic.)


Using my example of a deer and its adaptations that I created below, we continued to go back and forth (or use Split Screen view on the iPad) between World Book Web and Keynote in order to add the following components:

  • Title
  • Name of biome
  • Map of where it lives
  • at least 3 adaptations that help it survive


Keynote skills the students learned included:
  • Adding and editing text
  • Inserting drawings
  • Using shapes, callouts, and connectors
  • Recording audio (for a few early finishers)
Also during this fast-paced 45 minute lesson we discussed critical design elements including, font, color, layout (proximity & space), and contrast. 


After all the student groups had rotated through, it was easy to collect the Keynote files through Apple Classroom and send the completed infographics back to their teachers. You can view the students' creativity and scientific knowledge in this online gallery.


Tuesday, August 20, 2019

Tech Integration IGNITE!


Visit the live agenda at bit.ly/2019techignite
We recently held our annual "IGNITE" day for ESU 8 teachers to spark new ideas for technology integration in their classrooms. The following is a summary of the learning we experienced to help us "launch" a great school year!

Wormhole Challenge

Our kick-off activity was using the new green screen feature in iMovie on iPad to create examples of the "Wormhole Challenge". You can read more about how to replicate this activity on this blog post


Apple 'Pop Up Classroom' Workbook

To demonstrate the possibilities of #EveryoneCanCreate with the built-in Apple apps on iPad, we worked through station activities shared at ISTE in Apple's "Pop-up Classroom" experience. Centered around a space theme, teachers were able to use a Pages workbook to try out drawing, photos, music, and augmented reality.  (Video and coding activities are also included in the workbook).  The entire resource was generously shared on the Apple Teacher Learning Center and you can download it too! Just look for the "Apple at ISTE 2019" tile.

  • Drawing: Create a hand drawn note of a concept or idea involving the moon (in the Keynote or Pages app) and bring it life by adding line draw animation.
  • Photos: Use the iPad camera's burst mode to capture a photo of a jump and then select a frame in midair. Use the markup feature to annotate and add a fact about weightlessness in outer space. 
  • Music: Create a Garageband recording for voice and interview your "friend from outer space" about life on the moon. Use the voice filters to make your audio recording sound authentic!
  • Augmented Reality (AR): Use the AR Makr app to create a 3D AR model of the earth, moon, and sun... and put it into motion!
 

ESU 8 Digital Resources

There are so many resources provided for educators through our ESU 8 Digital Resources that it is always worth a reminder! Molly presented a refresher and new features sharing about World Book online, Learn 360, SNAP to check out physical items through the Media Center, Virtual Field Trips (VFTs) and Zoom. 

Mission Control

During this portion of the workshop, we compared and contrasting two teaching tools to help you feel "in control" of your students' learning. We experienced a "getting to know you" lesson in the free versions of both ClassKick and Nearpod and then discussed differences, as well as times when both would be valuable. 
Teacher View of ClassKick lesson in progress.

Teacher View of Nearpod lesson overview.

Demo Slam

Finally, Molly and I went head-to-head with a Demo Slam, designed to showcase a few more tech tools in a fast-paced way. 


Goal-Setting

We concluded our IGNITE day by taking a look at our ESU 8 Tech Integration mission and then peruse some exemplars (including ISTE Standards, BlendED, BellevuePS ) to attempt to set individual professional goals for the upcoming school year. Don't forget that Katie and Molly would LOVE to come out to your classroom any time and assist with trying to reach those growth goals. 


One final activity...

...was one we used with West Holt teachers in their back-to-school Tech Ignite Day. It was to introduce EdPuzzle, by way of using EdPuzzle. You can check it out below. 


Wednesday, August 14, 2019

The Wormhole Challenge

Inspired by creative educators sharing their #WormholeChallenge creations on Twitter, ESU 8 educators got out a little green play doh and tried their own hand at magically revealing something via iMovie green screen capabilities.


While the green/blue screen feature is fairly new to iMovie on iPad, it has been a part of iMovie on Mac for some time. However, it is the approach to this simple green screen project that seems new.  Often we film in front of a stationary green background for effect. But in the Wormhole Challenge, you manipulate the green screen to reveal a pieces of a background a little at a time.

There are so many adaptations for this simple idea, but we used it as a simple ice breaker activity while working with groups of teachers in back-to-school PD. Here are the steps we used to accomplish the goal:

1) Use the built-in camera to record a video of your partner manipulating the green or blue play doh. Change sizes, placement, and even position further and closer to the iPad camera.

2) Open a new blank iMovie video project.

3) FIRST, add your background image (or video). In other words, what you plan to reveal.

4) SECOND, add your video of the hands manipulating the green blob.

  • if using iPad: 
With your playhead at the beginning of your project, use the + to add the Video from your 'Recently Added' album. Once selected, use the ellipsis to select "Green/Blue Screen" from the options. Finally, don't forget to tap on the part of the video in the viewer that you want iMovie to "key" out (green, blue, or some other color you want to become invisible!).


  • if using Mac:
Drag your green screen video clip just ABOVE your background clip in your timeline. Then, click the Video Overlay settings button and change the dropdown menu from 'Cutaway' to 'Green/Blue Screen'. That's it! iMovie will automatically find the green or blue color here. (You can, however, do some adjusting and editing if need be.)


Amazingly, that is all there is to it! No need for additional software, apps, or extensive editing experience. Now, what will you magically reveal in your next Wormhole Challenge project?


Wednesday, May 8, 2019

Develop your CrEaTiViTy skills this summer!

My Wisconsin teacher friend Felecity Treptow recently shared these summer creativity calendars she created for students in her district.


Based on the Everyone Can Create guides from Apple, these self-paced activities could truly be completed by learners of ANY age... even the teacher!

https://www.apple.com/education/everyone-can-create/ 

Better yet, Felecity was kind enough to share the Keynote source file. In this way, she encourages educators to remix her calendars and customize the activities to your own learning community. How creative!

Download customizable calendar and edit in Keynote


#EveryoneCanCreate

Pioneer ABCs: Book creation by 1st graders


To bring to life first grade Social Studies learning, this class created an alphabet book based on the "Little House on the Prairie" series and Westward expansion topics. 

First, Mrs. Willis and her students brainstormed topic options for each of the letters of the alphabet, then assigned to her class. 

Next students researched and wrote their "stories," drawing an accompanying picture on paper.

I shared an ABC book template page via Apple Classroom and worked with the students to publish their work in Pages. Many examples of combining pencil and paper artwork with digital artwork were experimented with. 


Students rotated through some "finishing stations" where they recorded audio with Mrs. Willis or were photographed in a pioneer costume.
 

Finally the pages were submitted to me via Apple Classroom so that I could assemble them in a class alphabet book. 


Now published on the Apple Books Store, you can enjoy it here:

For members of our audience without access to Apple Books, we shared the following additional versions: